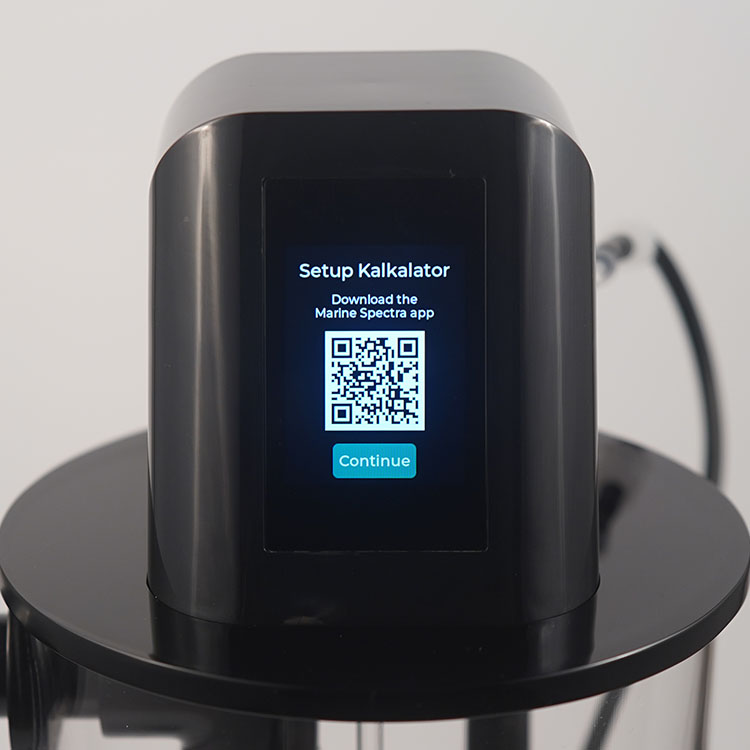
- Download the Spectra Hub app for iOS or Android.


- Log-in to your Spectra Hub account. If you don't have a user account, tap "Create Account".
- Create an Aquarium to add your new device. Or add to an existing Aquarium.
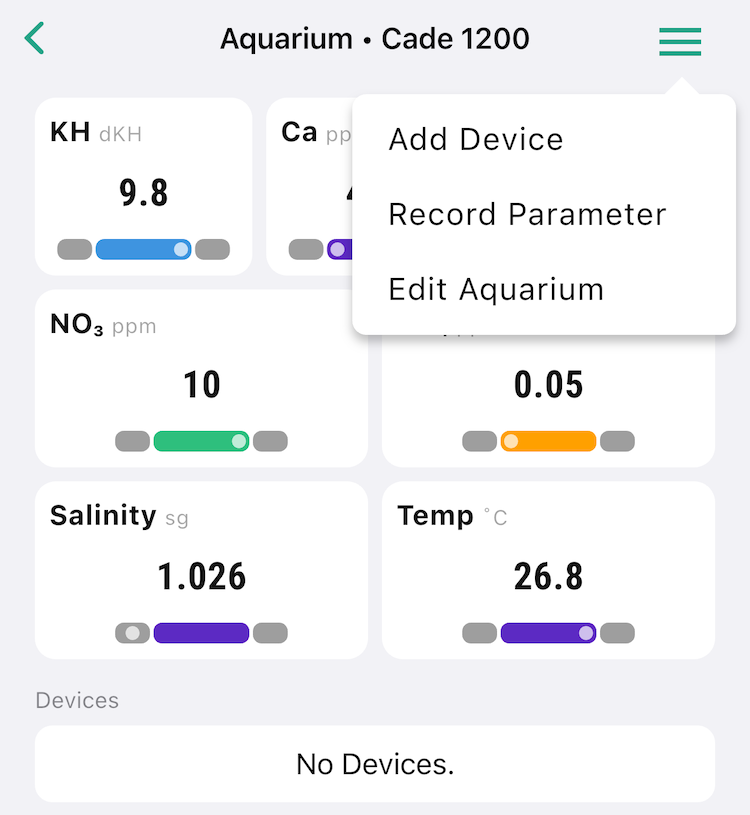
- Tap the aquarium you would like to add Kalkalator to, and select "Add Device" from the menu on the top right.
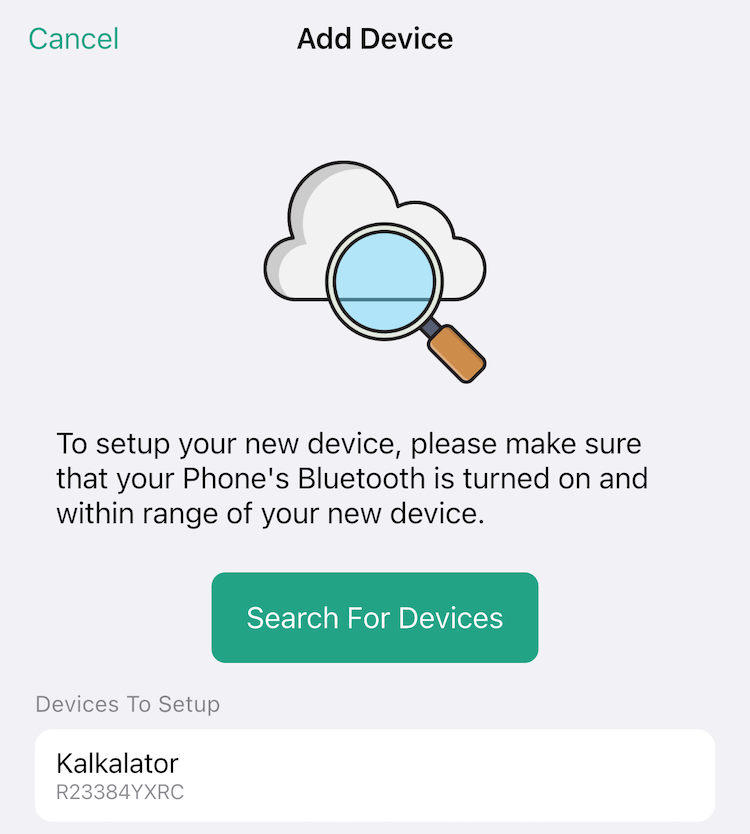
- Spectra Hub will scan for any Kalkalator in setup mode nearby.
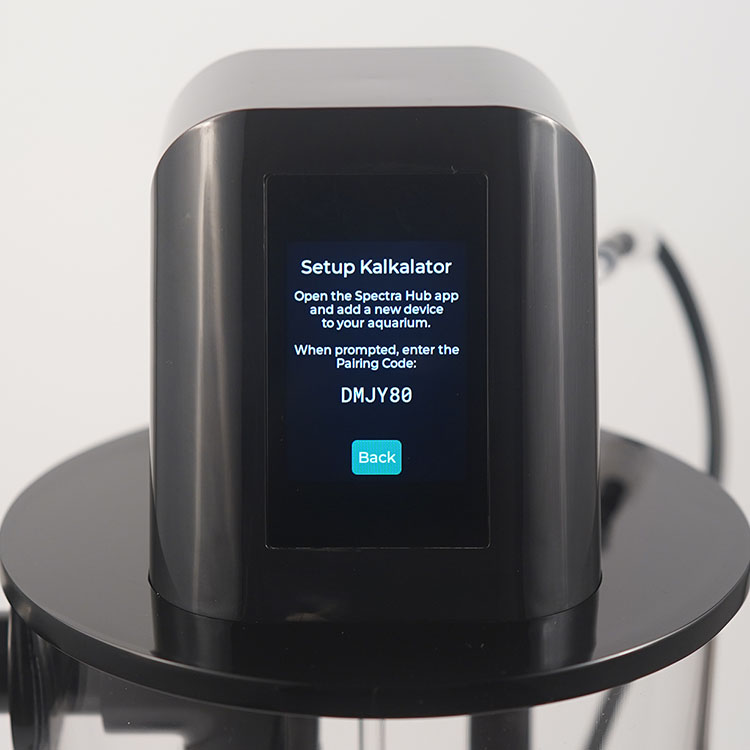
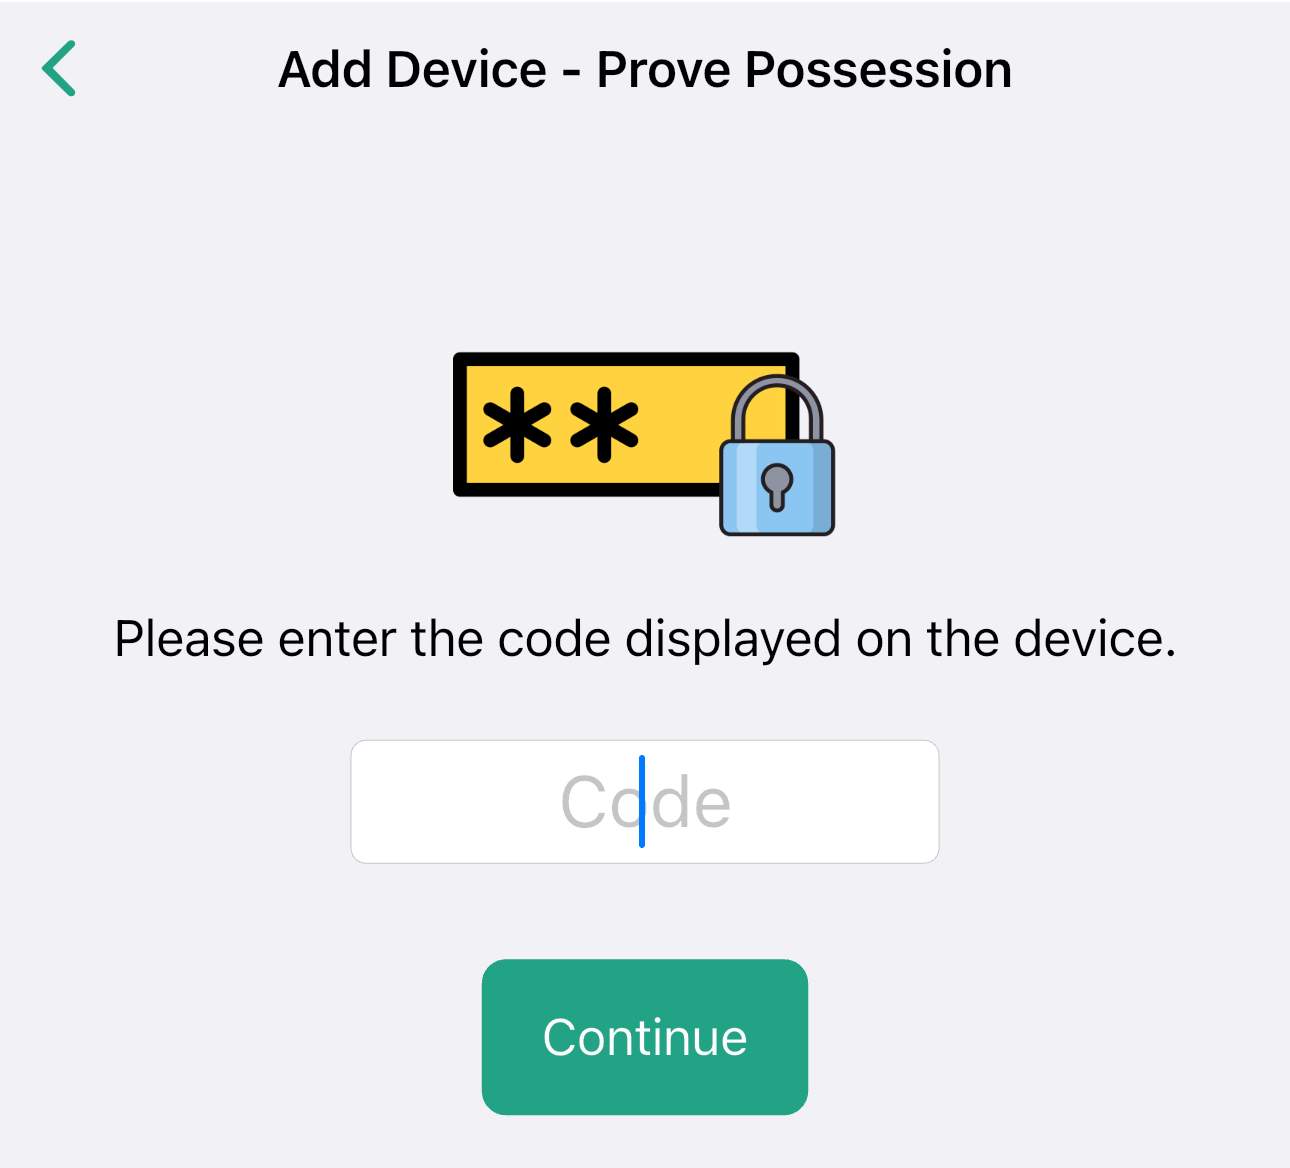
- Select the device from the list, then enter the pairing code displayed on the Kalkalator display.
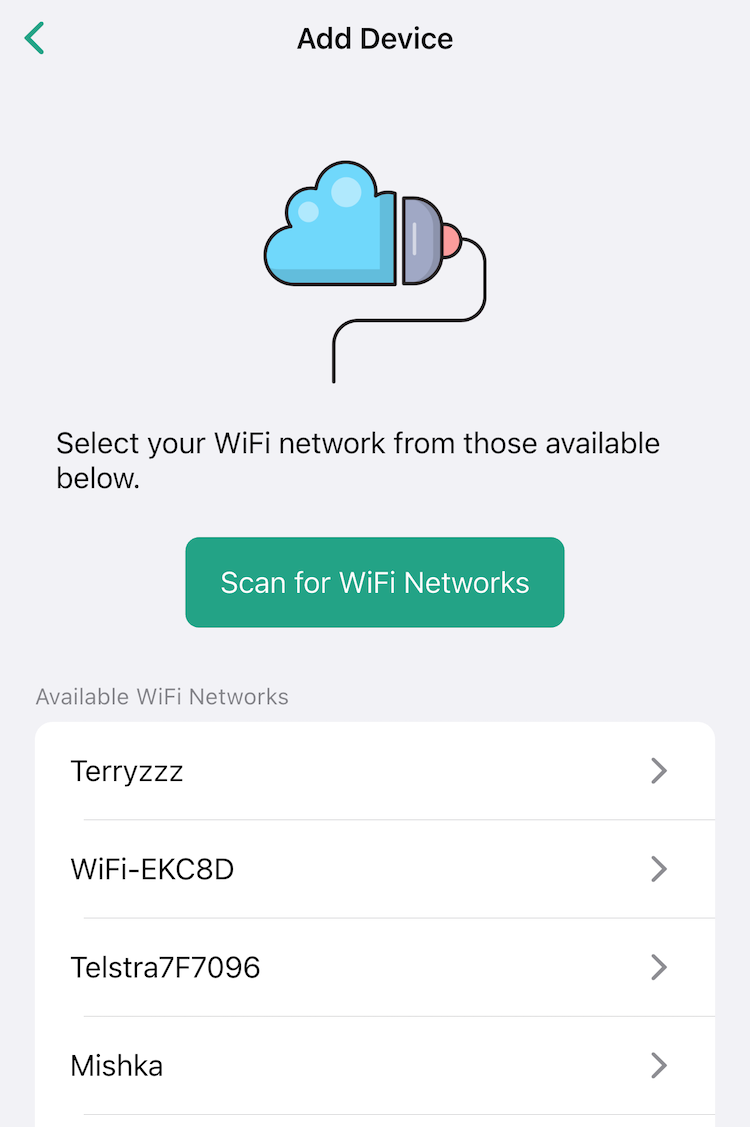
- Once paired, Kalkalator will scan for WiFi networks nearby. Only 2.4Ghz networks are compatible, and older security schemes are not supported (eg WEP or WPA1). Choose the network you want Kalakator to connect to, and enter the password.
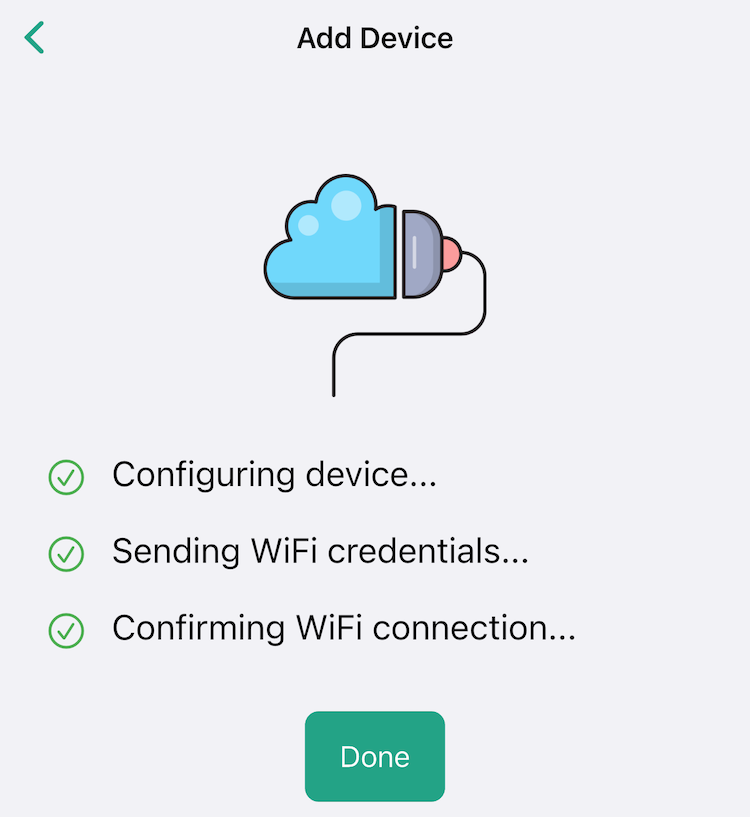
- Kalkalator will attempt to connect to the network and configure basic settings.
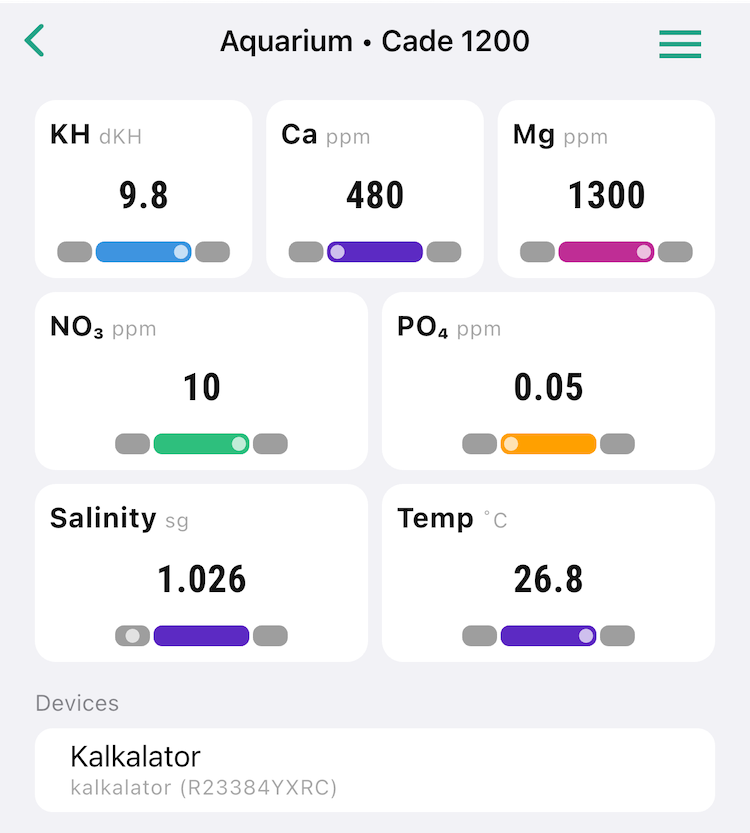
- Tap "Done" and you'll be taken back to your aquarium view. Your newly setup device should appear in the list of devices.
- Kalkalator will display "Provisioning..." on the screen while it sets up a secure connection to our Spectra Cloud, once complete, you'll be able to view and configure Kalkalator settings from the Spectra Hub app. You can also always manually configure Kalkalator from its touch screen as well!
- When you tap on the device, you'll be taken to the device screen showing the current state of the device, along with recent history of the saturation readings of the reactor. The saturation level is logged every 5 minutes.
- Tapping the icon in the top right will take you to the settings. Here you can update all the same properties as on the touch screen of Kalkalator itself.
- Name - this is the name that will show on the device list on the aquarium screen.
- Enabled - When enabled Kalkalator will stir and dose according to the other settings. When disabled, all stirring and dosing is paused.
- Dose - This is how much kalkwasser Kalkalator wil dose per day in mL.
- Dose All Day - When this is enabled, Kalkalator will spread the set dose over 24 hours. When disabled you'll be able to set a period between which the set dose will be spread over.
- Stir Speed - This is how fast the stirrer rotates, generally fast stirring is not required to maintain full effluent saturation (5-15 RPM is usually a good range) If you are dosing a large volume per day, you may need to increase above this to ensure full saturation of effluent. Stirring should be slow enough that the top 1/3 of the reactor liquid remains clear.
- Time Zone - Set this to ensure the time is displayed correctly, and the dosing period is respected accurately if set.
- Display Brightness - Sets how bright the LCD backlight is.